hold.that.thought. Blog
Painting 3D Prints: Sanding, Finishing and Pantone Matching
By Hollywood 3D Printing ·
Key Takeaways
- Layer lines are removed by sanding every part before any priming or painting, not by painting over them.
- Foam parts get a polyurea epoxy hard coat about 1/16 inch thick, sanded smooth, before paint.
- We match Pantone colors from a code or swatch, test under multiple lighting conditions and keep the mix formula for repeat orders.
- A single-color Pantone spray adds 2–3 days, detailed hand painting adds up to a week, and electroplating adds about two weeks.
- Painted parts are held until fully dry and cured, and durable clear coats protect them through repeated handling.
A 3D print looks professionally painted when every surface is sanded smooth before any color goes on, the right primer or hard coat is applied, and the paint is sprayed or hand applied in controlled conditions and cured fully before handling. Layer lines disappear in the sanding step, not under the paint. For color, we match to a Pantone code or physical swatch, test it under multiple lighting conditions, and keep the mix formula for repeat orders. A simple single-color spray adds 2–3 days; detailed hand painting adds up to a week.
Why do 3D prints look like 3D prints, and how do you hide layer lines?
Layer lines are a by-product of how printing works: the part is built up in thin slices, and every slice leaves a faint step. FDM prints show them clearly. SLA resin prints are far smoother, but they are not free of build lines either. Paint on its own does not hide these lines; a glossy coat actually makes them more obvious, because it reflects them.
The fix is mechanical. Every part we finish is fully sanded first, which removes the build lines and leaves an even surface. Only after that does priming, hard coating and painting begin. If you are choosing between processes, our guide to SLA resin printing explains why SLA is the better starting point for hand-painted display pieces, mold masters and plating.
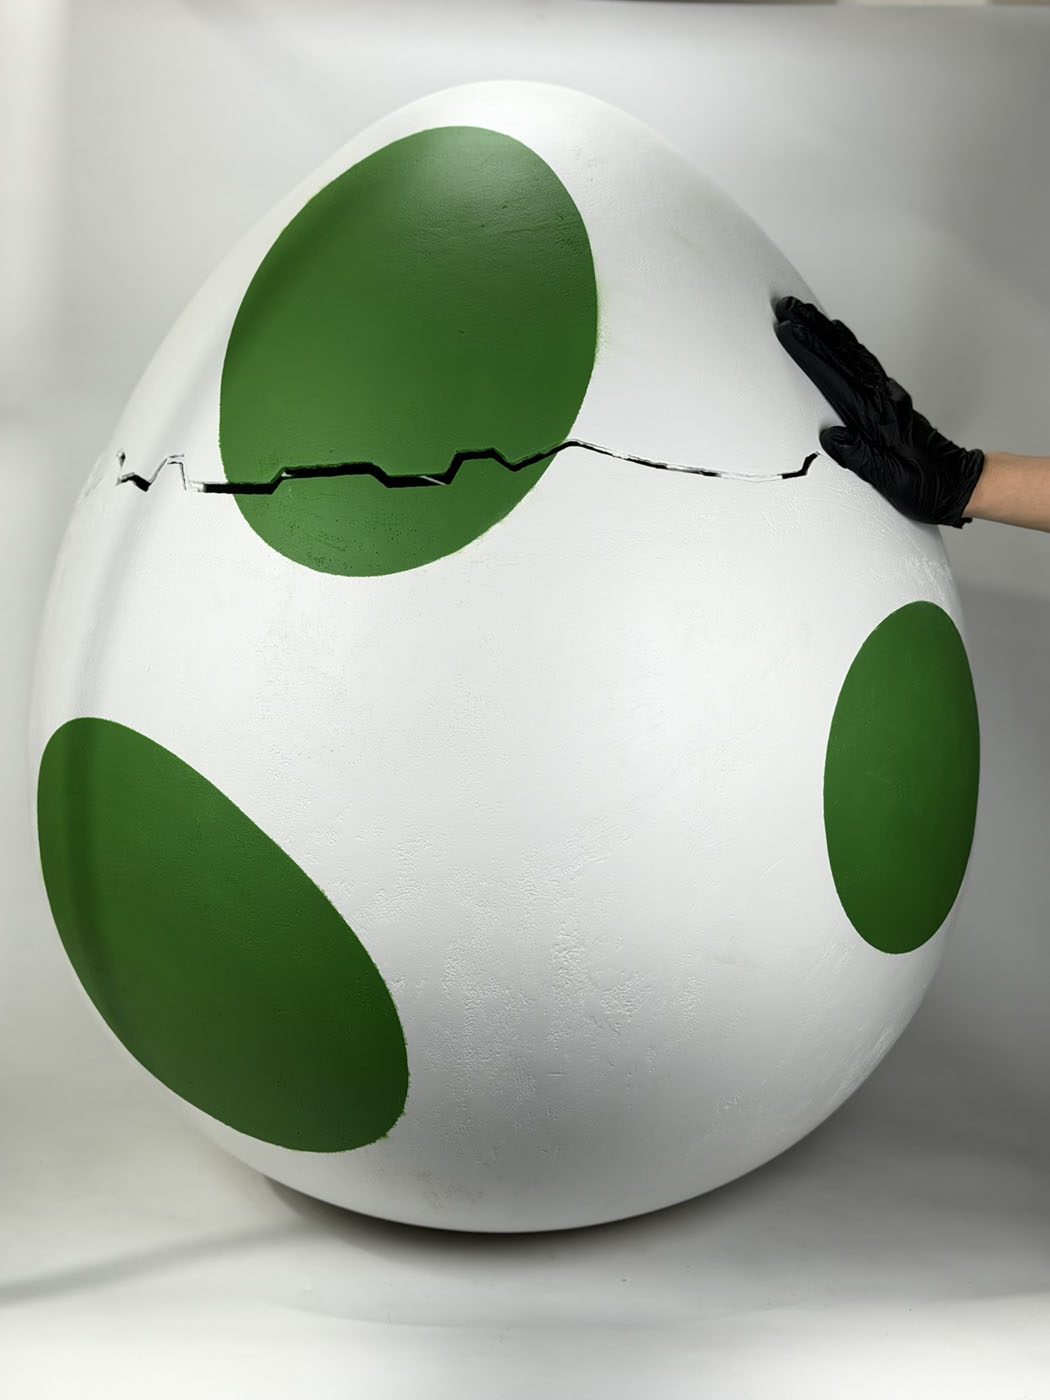
What are the steps from raw print to show-ready piece?
Every project differs, but the pipeline is consistent. Not every piece needs every step.
| Step | What happens | Why it matters |
|---|---|---|
| 1. Raw print or milled foam | The part comes off the printer or the 5-axis CNC mill | Starting point; you can see build lines, support marks or tool paths |
| 2. Support removal and sanding | Supports are removed and the whole part is sanded | Removes build lines so the surface is even |
| 3. Priming or epoxy hard coat | Primer on printed parts; foam parts get a polyurea epoxy hard coat about 1/16 inch thick, sanded smooth | Seals the surface and gives paint something durable to bond to |
| 4. Color coat | Spray booth, airbrush or spray gun for high-gloss, automotive-grade results | Even coverage with no brush marks |
| 5. Hand painting | Fine-detail and model painting for multiple colors on one part | Precise details and color transitions a spray cannot do |
| 6. Pantone matching | Matched from swatch or code and tested under multiple lighting conditions; formula retained | Color stays right on camera, on the show floor and on reorder |
| 7. Decals | Die-cut vinyl for logos and text | Sharp logos and lettering |
| 8. Special effects | Patina, weathering, aging, marble or wood-grain mimicry, texture matching | Makes a printed part read as stone, wood or aged metal |
| 9. Clear coats | Durable clear coats | Protects the finish, important for repeated setup and breakdown |
| 10. Cure and pack | Held until fully dry and cured, then custom packaged | Prevents marks and damage in transit |
How does Pantone color matching work for props and trophies?
Pantone is a standardized color reference system, so a given Pantone number means the same target to you, to us and to anyone else who owns the swatch book. If your brand guidelines list Pantone codes, send them. If you have a physical swatch, a printed piece or a sample of the product instead, send that.
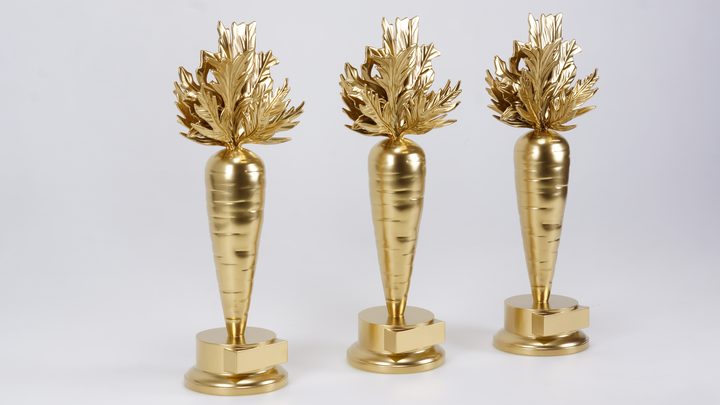
We match from a swatch or a code, then check the result under multiple lighting conditions. A color that looks right under studio lights can shift under warm event lighting or in daylight, and a prop that will be filmed needs to survive all of those. Once approved, we retain the mix formula, so a repeat order or a later extension of the same series matches the first batch. That is especially useful for programs like a trophy series that returns each year; see our trophy program planning guide.
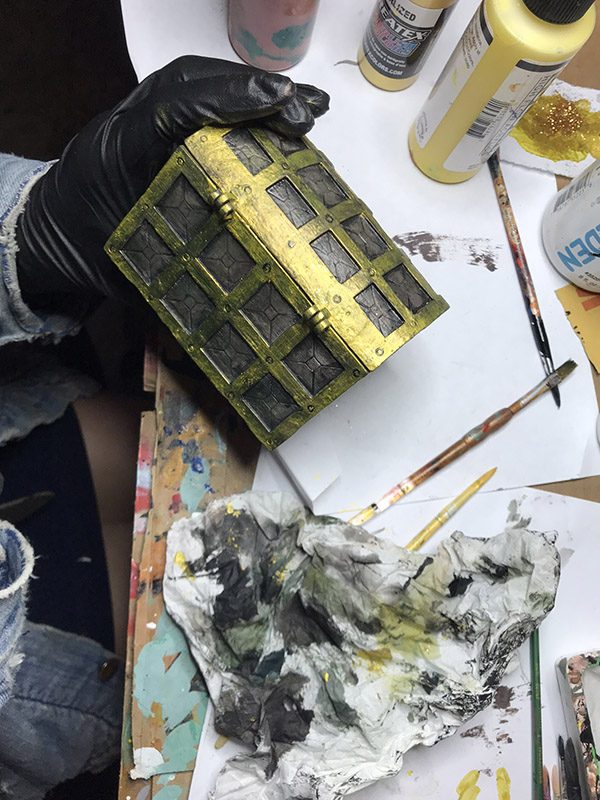
How long does painting a 3D print take?
Painting time depends on the type of finish, not just the size of the piece. These are the added times we work from:
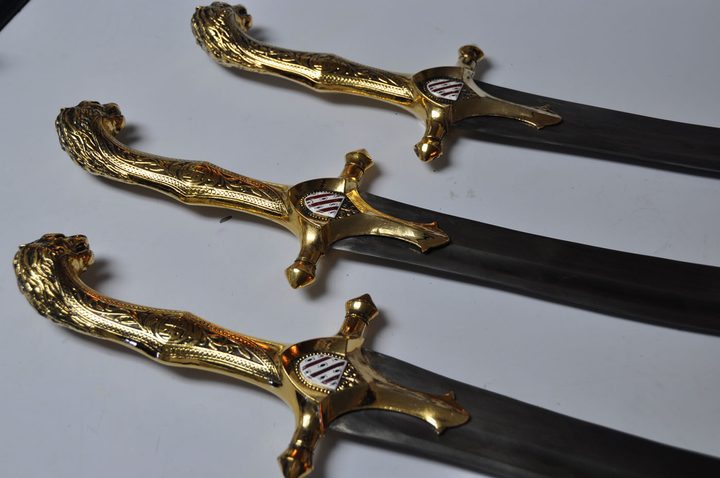
- Metallic gold or silver paint: adds 2–3 days.
- Single-color Pantone-matched spray: adds 2–3 days.
- Detailed hand painting: adds up to a week.
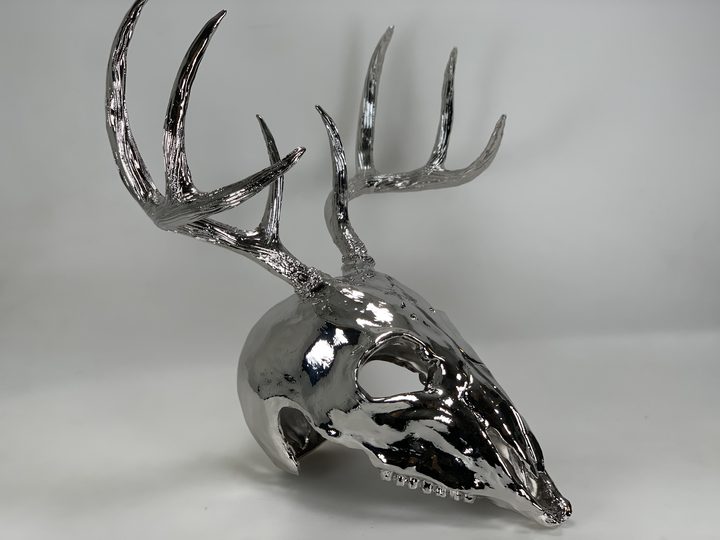
- Chrome or gold electroplating: adds about two weeks; see chrome and gold plating for 3D printed parts.
Painted parts are not released until they are fully dry and cured, so we do not compress the cure. A standard prop with painting and finishing runs 2–4 weeks from approved design, and adding electroplating takes it to 3–5 weeks. For the whole project timeline, read our custom fabrication lead times guide.
What painting techniques can be used, and when?
Spray booth, airbrush and spray gun
For large smooth areas, high gloss and automotive-grade finishes, we spray in a booth with a spray gun. An airbrush handles gradients, shading and smaller areas with more control. Spraying gives even coverage that brushwork cannot, which is why single-color Pantone matches are sprayed.
Hand painting and fine detail
Anything that needs multiple colors on a single part is hand painted to a precise color scheme: characters, figures, small emblems and details. Fine-detail model painting is what gets a small figure to look finished when someone holds it.
Patina, weathering and faux finishes
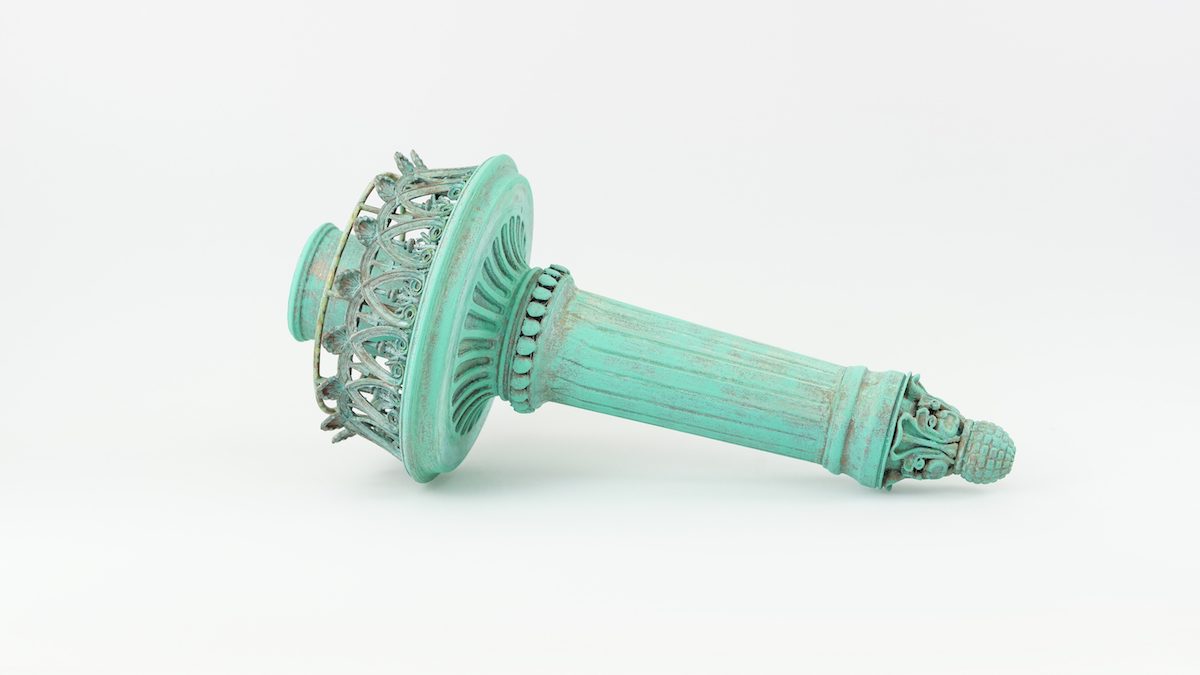
Aged or specialty looks are part of the same pipeline: patinas, verdigris, aging and weathering, texture matching, and marble, wood-grain and stone mimicry. Well-done faux finishes can make a lightweight printed or foam part read as carved stone or aged metal from a normal viewing distance.
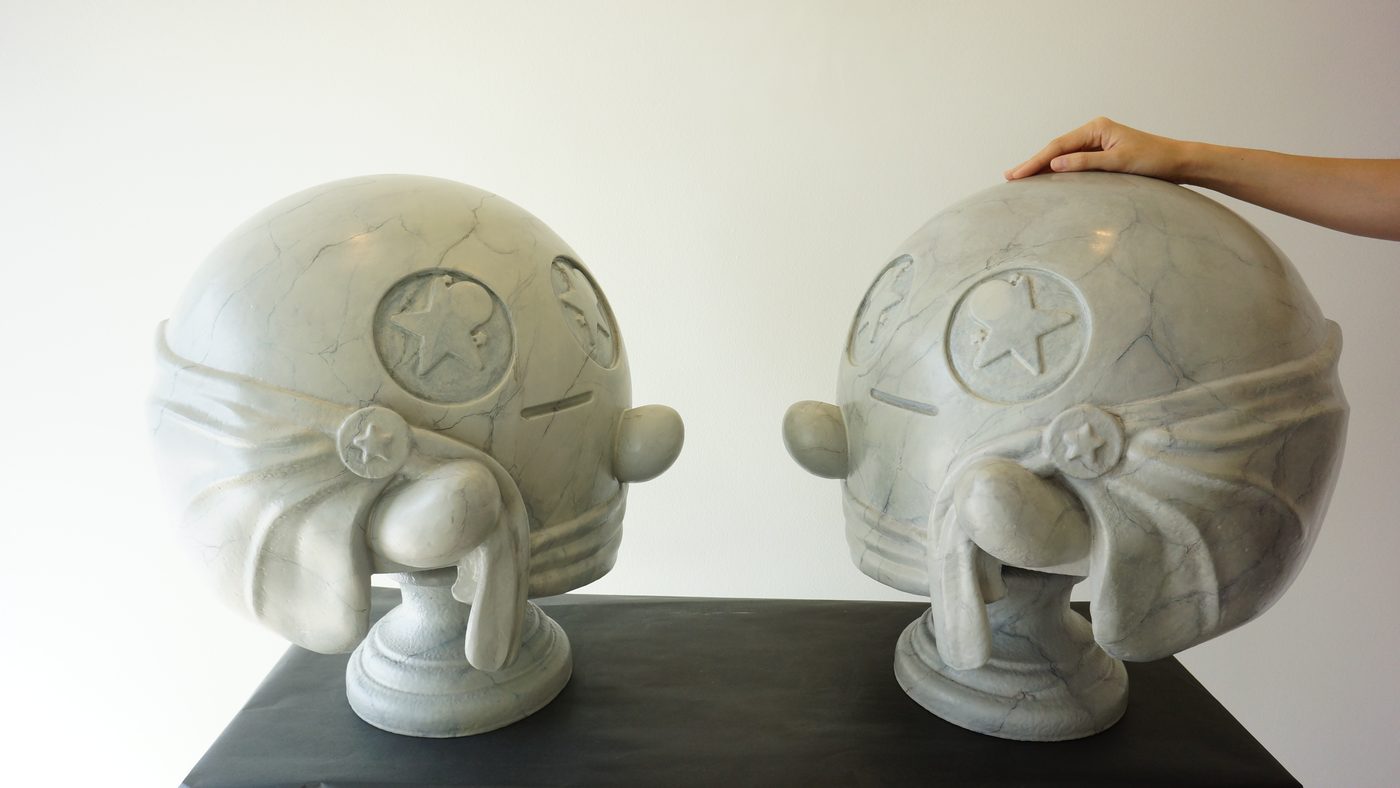
How does prep differ for printed parts and foam parts?
The first steps depend on the material, and this is where a lot of the finish quality is decided. Printed parts, SLA or FDM, are sanded to remove build lines and then primed. Foam parts, milled on our 5-axis CNC in EPS or HDU urethane foam or sculpted by hand, get a polyurea epoxy hard coat about 1/16 inch thick with an orange-peel texture. That coat is then sanded smooth before paint. It does two jobs: it gives soft foam a hard, paintable shell, and it lets us bring a large surface to the same smoothness as a printed one.
Large pieces are built in sections and joined, so seams also have to be blended before color goes on. If you are weighing materials for a big piece, our comparison of 3D printing, foam milling and hand sculpting covers when each makes sense, and the foam milling service page shows what the hard coat looks like on real work.
What goes wrong when finishing is rushed?
- Visible build lines under gloss. Sanding was skipped or cut short, and the clear coat now highlights every step.
- Color that shifts between lights. The color was matched under one light only, and looks different under warm event lighting or on camera.
- Tacky or marked paint. The piece was handled or packed before it had fully dried and cured.
- Mismatched pieces in a run. Each piece was mixed by eye instead of from a retained formula, so pieces in the same series do not quite match.
- Chipped edges on a show piece. A finish that looks good on day one but was not given a durable clear coat does not survive repeated setup and breakdown.
Each of these is a scheduling problem as much as a craft problem. A finishing step that needs a day to cure needs that day in the schedule. When a deadline is fixed, tell us at the start so we can plan around it rather than cut steps; rush production is available and 24-hour rush is noted, subject to studio capacity.
Can you extend or repeat a finish later?
Yes, and this is the main reason we retain the mix formula. A trophy series, a set of props for a second season, or a second production run of a display piece can be matched to the original because the recipe is on file. If the original was made somewhere else, send a sample or a good photo and a swatch, and we will match to that. It is one more reason to keep approved samples: they are the fastest way to settle a color question.
What should you send us to get an accurate finish?
- Pantone codes or physical swatches. A code is a target; a swatch removes doubt.
- Reference photos. Show the finish you like, whether that is glossy, matte, worn or polished.
- Where it will be seen. Camera, stage, show floor and a hand-held award have different demands, which affects the coating and the sheen.
- Logos and text as vector files. Logos and text are applied as die-cut vinyl decals.
- Sample or old piece to match. If you are extending an earlier run, tell us so we can match the original finish.
One limit worth stating: we do not accept customer-supplied parts for finishing. Painting is part of a project where we fabricate the piece, which lets us control the surface from the start. Pieces we finish also go through the design approval steps, with renderings and finish samples typically within 3–5 business days.
Why does finish quality matter so much?
The finish is what your audience actually sees. A well-designed model with visible layer lines, an off-brand color or a chalky coat looks like a prototype; the same model with a sanded surface, a matched color and a durable clear coat looks manufactured. We put it plainly: pieces need to look like they were manufactured, not printed. The stakes are highest for hero props on camera, trophies that are handed over on stage, and trade show pieces that are packed and unpacked repeatedly, which is why we use durable clear coats.
If you want to see the range of finishes, browse our painting and finishing services and the custom fabrication service, or look at examples in our work. Prop teams can also read how finishing fits into custom prop production.
Send us your reference photos, swatches or Pantone codes and we will quote the printing and finishing for your piece.
Request a QuoteFrequently Asked Questions
How do you hide layer lines on a 3D print?
You sand them out before painting. Every part we finish is fully sanded first, which removes the build lines and leaves an even surface for primer and paint. Painting over unsanded lines, especially with a glossy coat, tends to highlight them. SLA resin prints start smoother than FDM prints, so they need less work.
How long does it take to paint a 3D print?
A metallic gold or silver paint finish adds 2–3 days, a single-color Pantone-matched spray adds 2–3 days, and detailed hand painting adds up to a week. Painted parts are not released until fully dry and cured. A standard prop with painting and finishing takes 2–4 weeks from approved design.
Can you match a Pantone color on a 3D printed piece?
Yes. We match from a Pantone code or a physical swatch, then test the color under multiple lighting conditions. The mix formula is retained, so repeat orders and later additions to a series can match the original batch. Send codes, swatches or a sample when you request a quote.
Do you paint parts that I printed myself?
No. We do not accept customer-supplied parts for finishing. Painting and finishing are part of an order where we fabricate the piece, which lets us prepare the surface from the beginning. Send us your idea, sketch or file and we will quote fabrication and finishing together.
What is an epoxy hard coat on foam?
Foam parts get a polyurea epoxy hard coat about 1/16 inch thick with an orange-peel texture, which is sanded smooth before paint. It gives the foam a durable, paintable shell. It is used on milled and hand-sculpted foam pieces such as oversized props and display elements.
Can you make a 3D print look like marble, wood or aged metal?
Yes. We paint marble, wood-grain and stone mimicry, texture matching, and patinas, verdigris, aging and weathering. These effects are applied by hand and finished with durable clear coats. Send reference photos of the look you want and we will advise on what is achievable.
Have a project in mind?
Hollywood 3D Printing designs, fabricates, and finishes custom pieces for brands, agencies, productions, and events, all under one roof in Los Angeles. Tell us what you’re building and when you need it.
Start Your Project TodayPrefer to talk it through? Call (323) 645-7640.
Related Reading